Pay-a-Person (P2P) Solution Tutorial
Pay A Person is a convenient digital service that allows online and mobile banking users to transfer money to their contacts at other financial institutions in real-time.
How To Use Pay A Person
Once logged into Online Banking, click the Payments button in the top menu, then click Pay A Person.

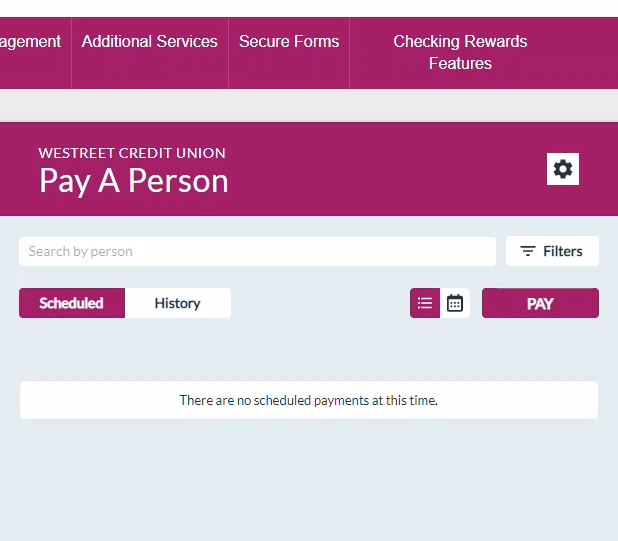
This will load the Pay A Person home page.
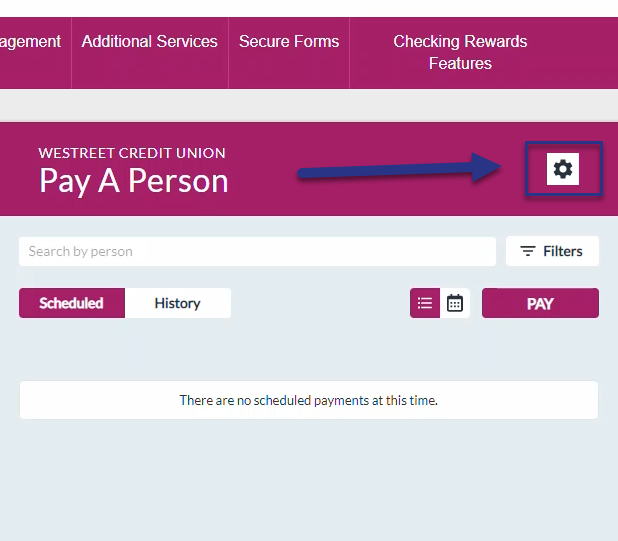
Settings
From the home page, click the settings button at the top right.
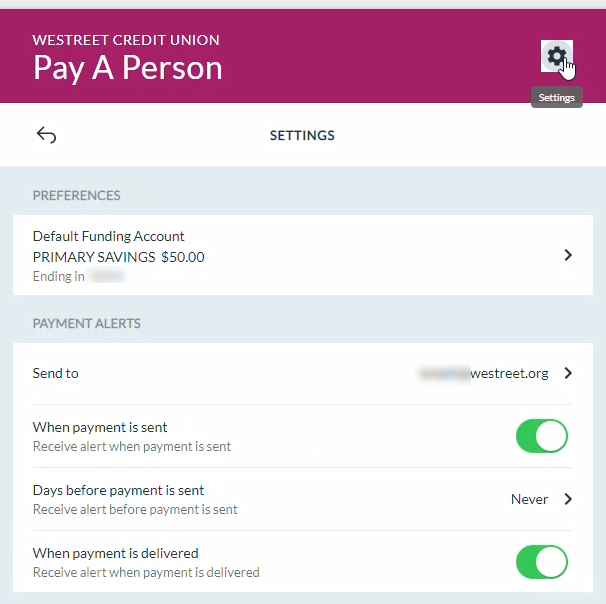
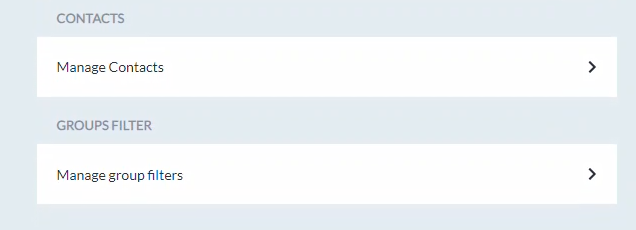
Here, you can manage funding accounts, payment alerts, contacts, and group filters. See below for more details on these areas.
History
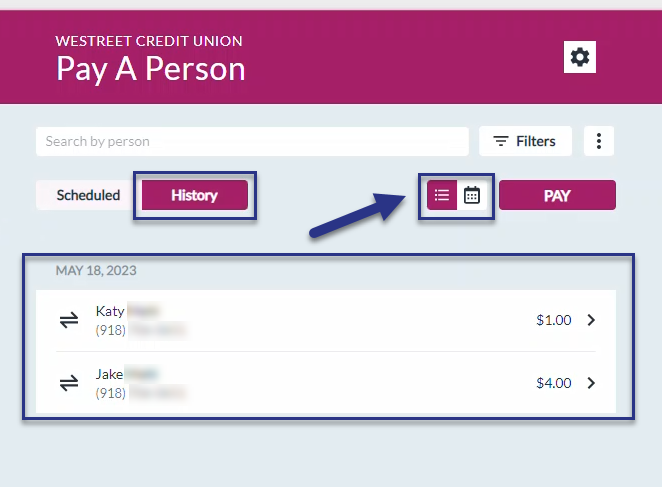
From the home page, click on History. The history will default to a list view, or you can choose a calendar view. The history can also be filtered by a date or date range.
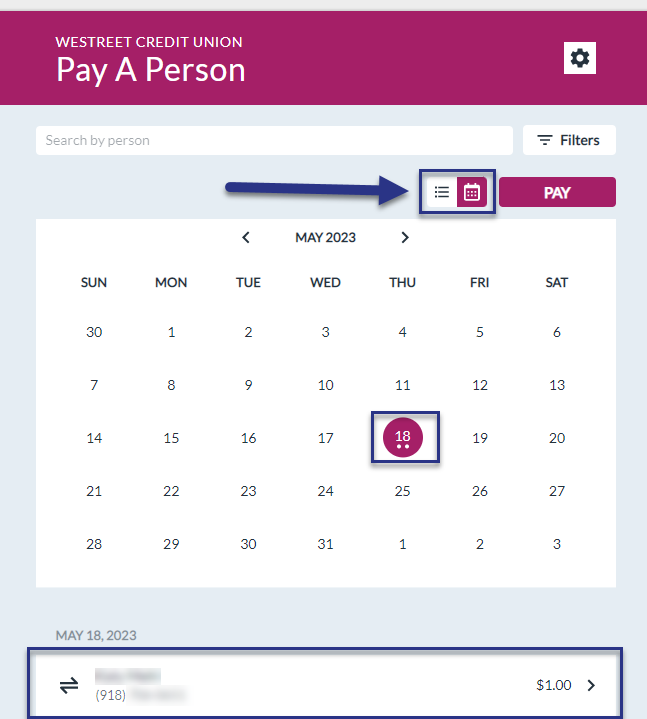
In the calendar view, it will show dots on the dates with transactions, and when you click on this date, you can see the transaction information below.
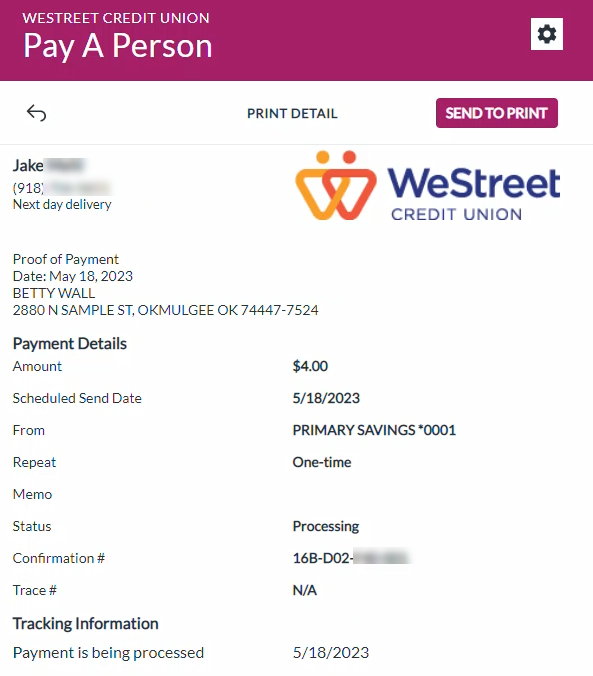
From either view, clicking on the transaction will bring up additional details. If the you need proof of payment, you can click the proof of payment button at the top right.
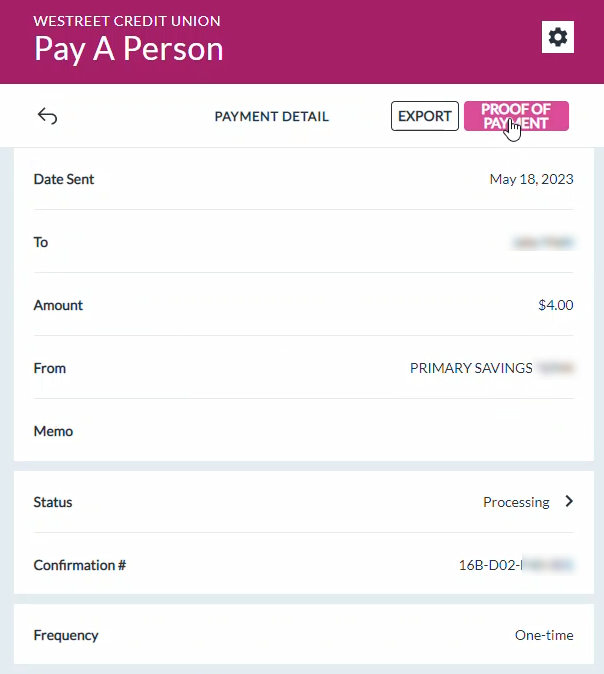
It will populate the details of the transaction.
Payment Alerts
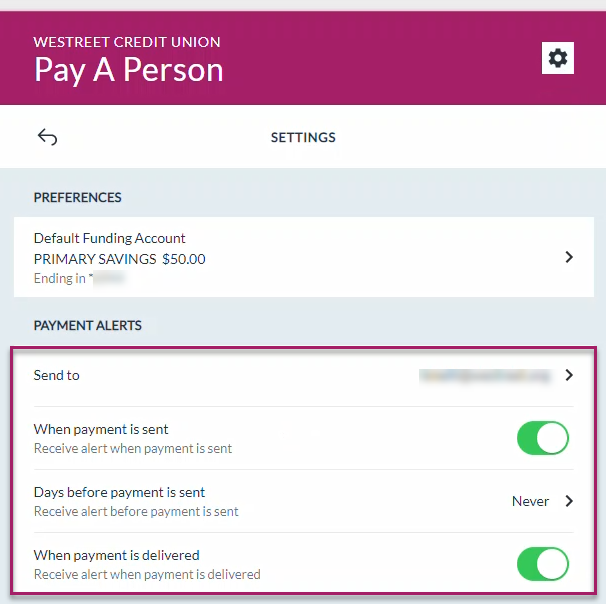
From the Settings menu, Payment Alerts can be customized.
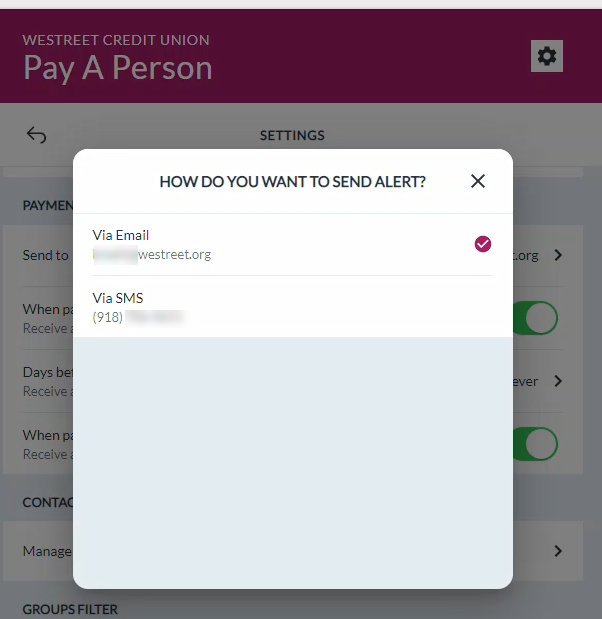
Clicking Send To will pop up a new window where you can choose between the contact options. Email or phone are shown in the example.
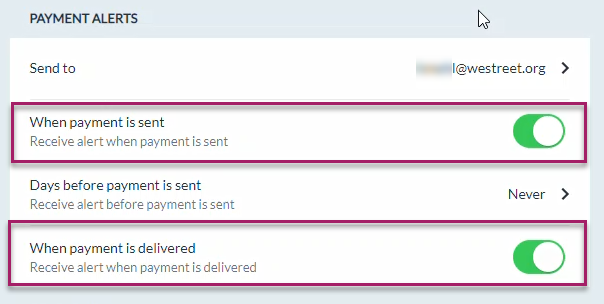
You can toggle alerts for when the payment is sent and delivered here.
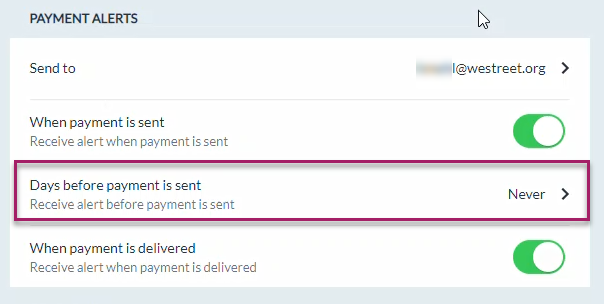
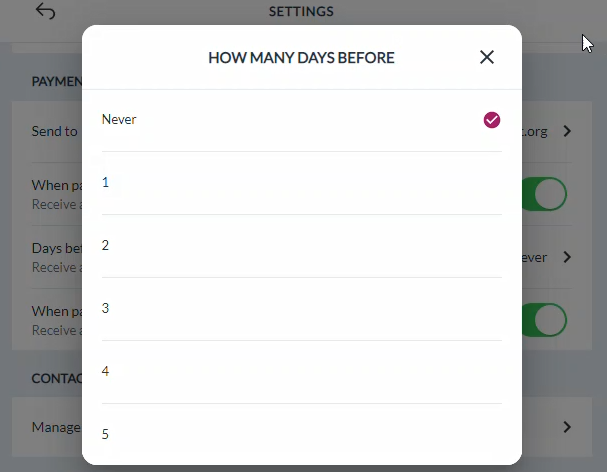
You can also change when you receive the alert before the payment is sent.
Adding Contacts
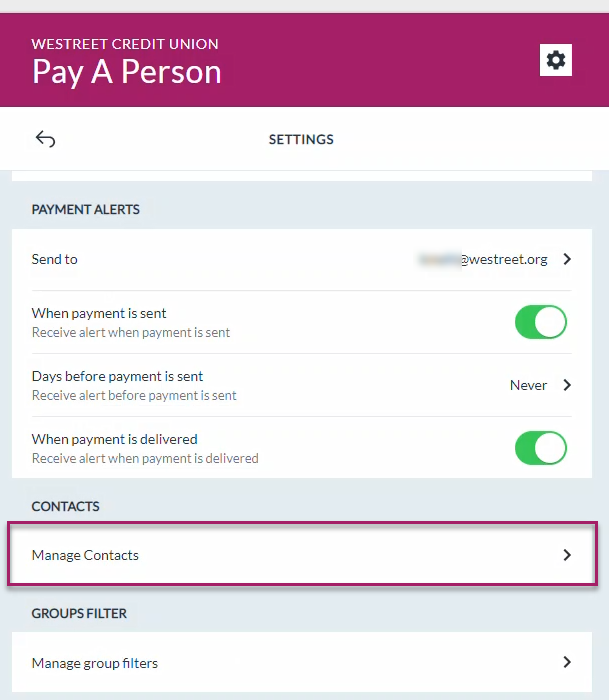
From the settings menu, click Manage Contacts.
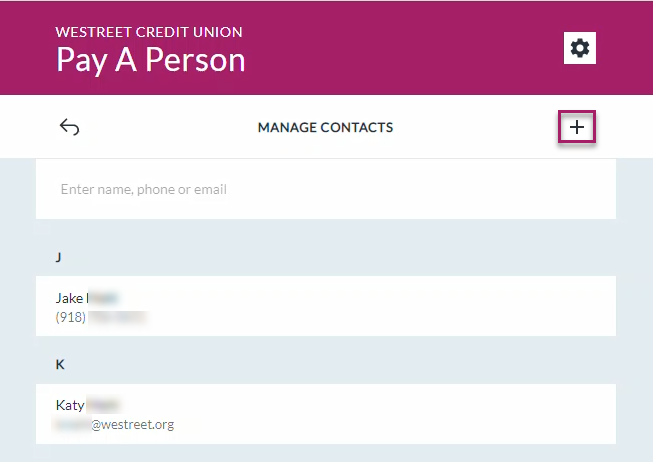
Click the plus sign to add a contact.
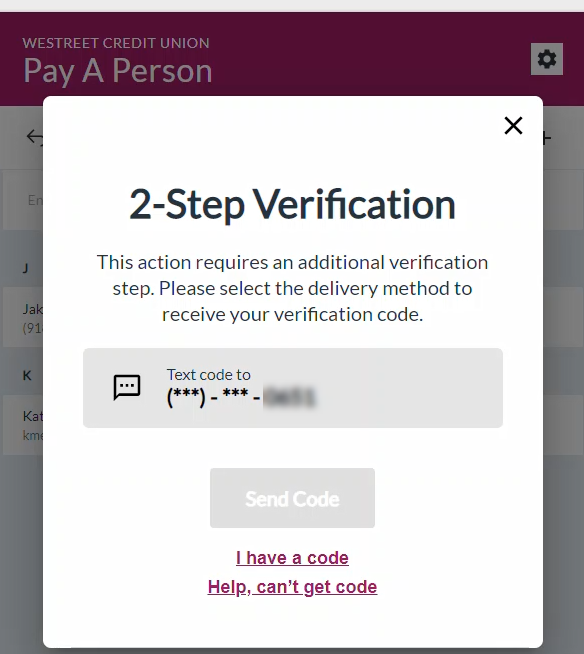
This may prompt a window requiring extra verification. You will need to follow the verification steps.
Fill out the requested information.
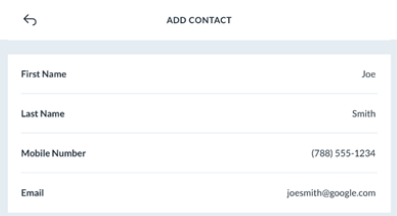
Choose how the Contact will be notified that a payment was sent to them, either Mobile Number or Email Address.
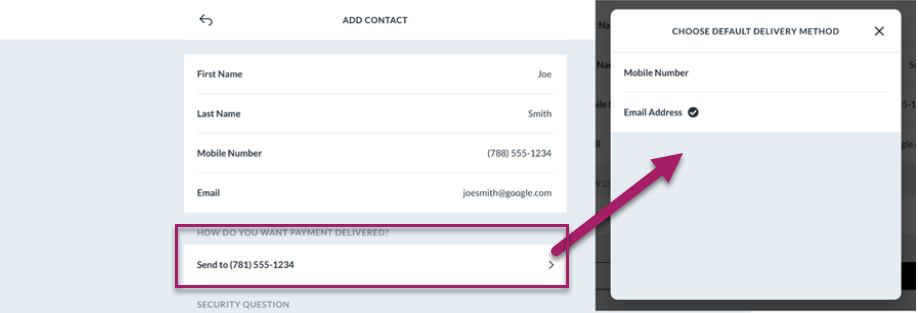
Enter a Security Question and Answer (if applicable) for Contact to answer upon receiving payment.
Remember that it is designed to be a question only the Contact would know the answer to. This ensures the payment is sent to the correct person at the indicated mobile number or email.

Click “Save” to Add the Contact and return to the Contact List. You can also click Save and Pay to Pay the newly added Contact.

Sending Payment
To pay a Contact(s), click on the PAY button on the home page.
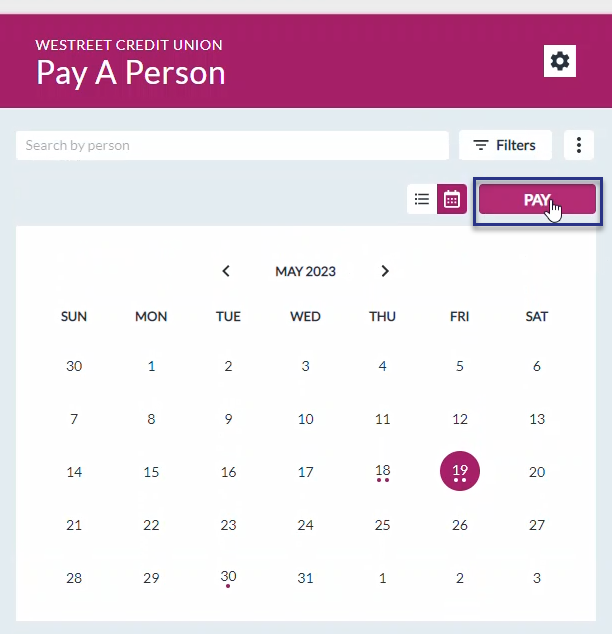
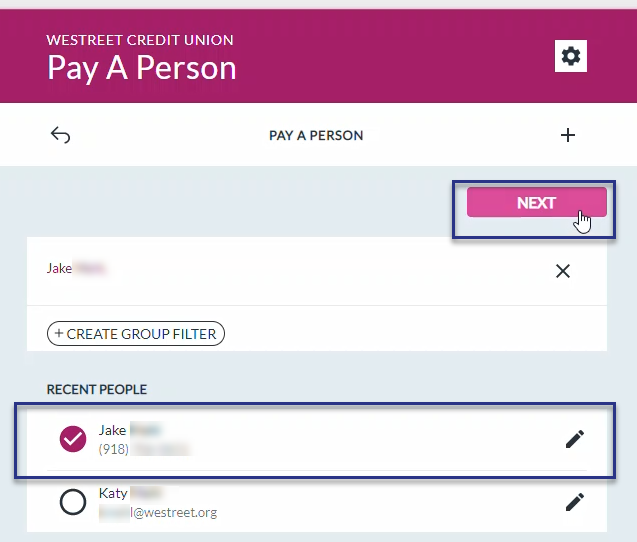
This will display your contact list. Contacts that you recently sent payments to will be displayed at the top under “Recent
People” (max 5). Additional contacts will be displayed in alphabetical order below under “Contacts.”
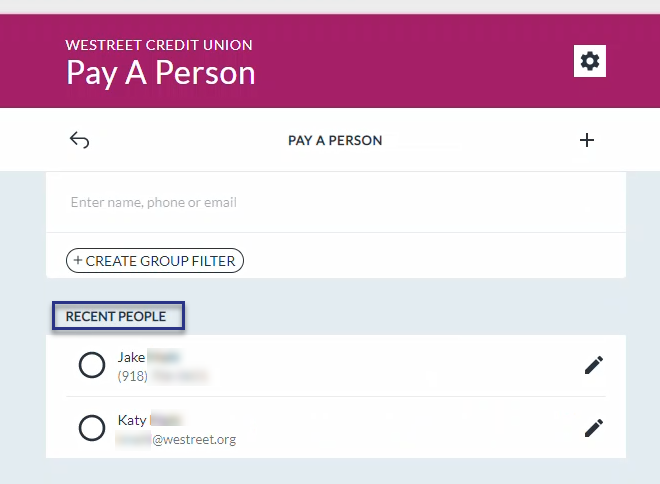
Click on the Contact(s) name(s) to schedule a payment and then click Next.
Enter the following fields:
- Amount(s)
- Memo (not required)
- Emojis and limited special characters are supported.
- Choose which account to pay Contact(s) from
- Select Frequency of payment.
- Frequency defaults to One-time
- Send Date
- Users can select a future date to send the payments
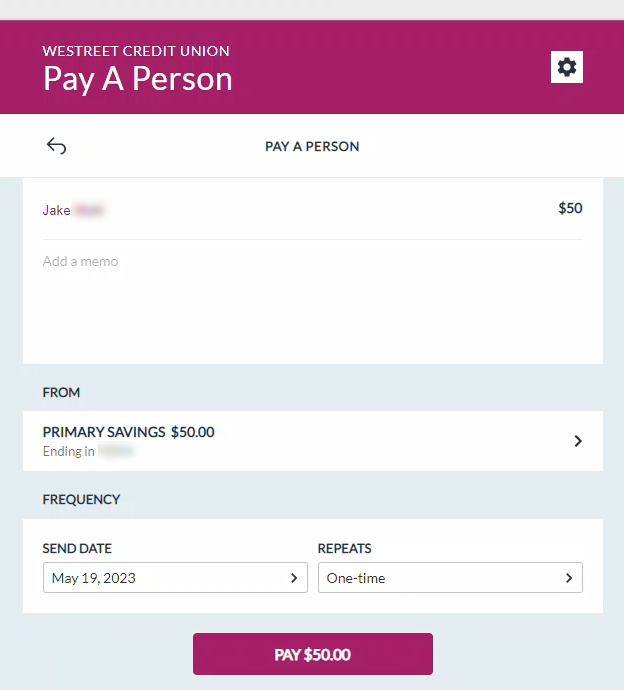
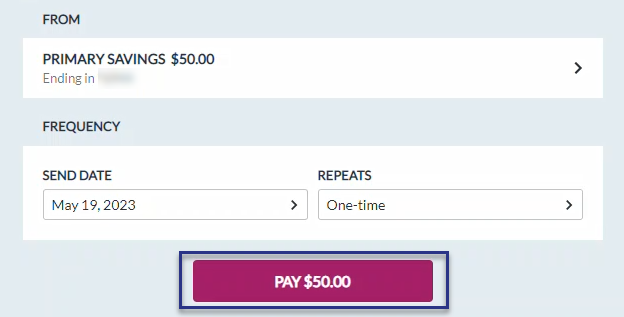
Click on “Pay” to submit payment.
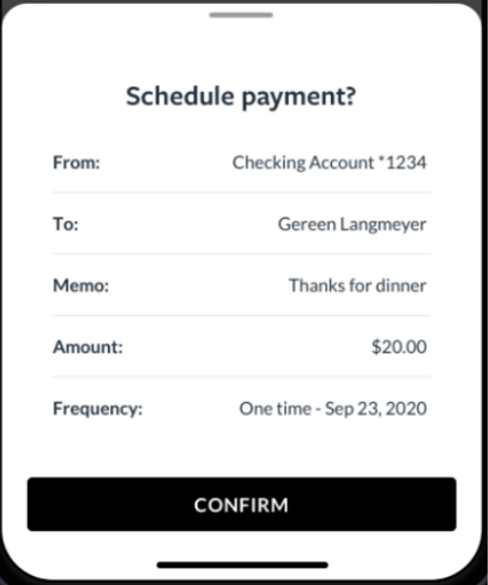
The user will receive a pop up to confirm the payment details. If all is correct, click “Confirm.” User can click “Cancel” to return to Pay a Person details.
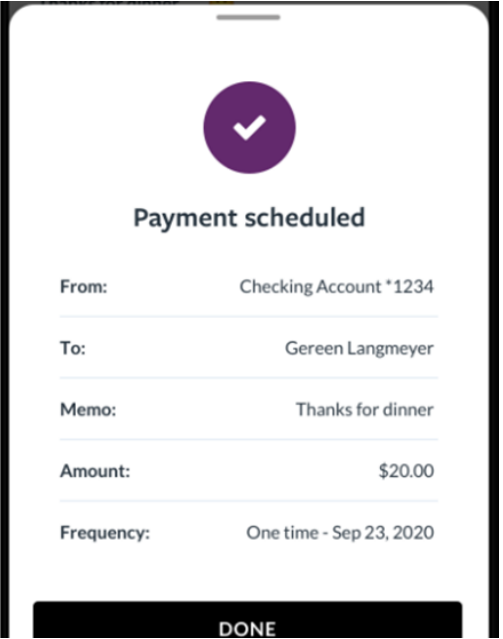
A payment confirmation will be displayed. Click on “Done” to return to the Activity Feed.
For additional information, visit our FAQs page for all the information you may need.

